Watch: A Basic Overview of Job Safety Analysis
This article expands the video’s introductory guidance. The video’s 25-pound lifting example is not a universal safe lifting limit. Stretching does not replace controls that reduce lifting demands, and completing a JSA does not guarantee that serious injury cannot occur.
What Is a JSA?
A JSA is a practical tool for examining how a job will be performed and planning how to control its hazards.
Its basic structure has three columns:
| Job step | Associated hazards | Required controls |
|---|---|---|
| What will we do? | What could cause harm during this step? | What will prevent or reduce exposure? |
The document supports a conversation about the work. Its value comes from identifying real hazards and putting effective controls in place.
OSHA uses the term job hazard analysis (JHA) for a closely related approach that examines the relationship between the worker, task, tools, and work environment.
Why Conduct a JSA?
A JSA helps the crew prepare before starting a job. It can also support:
- Training employees who are unfamiliar with the task.
- Refreshing knowledge before infrequent work.
- Coordinating people, equipment, and work areas.
- Communicating hazards and required controls.
- Reviewing whether the planned method matches actual conditions.
After an incident, the existing JSA can help investigators understand what was anticipated. Compare it with what actually happened, including whether the listed controls were available and effective. A signed form alone does not establish that the work was adequately controlled.
For the investigation process, see How to Conduct a Workplace Incident Investigation.
When Should You Develop or Review One?
Develop the JSA before exposure occurs. Give particular attention to new work, changed equipment or methods, unfamiliar tasks, and jobs with the potential for serious harm.
Review it when:
- An incident or near miss reveals a hazard or control weakness.
- Equipment, materials, staffing, or site conditions change.
- Employees identify a problem with the planned method.
- The job resumes after a significant interruption.
- Actual work differs from the documented steps.
OSHA recommends prioritizing jobs with high injury rates, potentially severe consequences, and new or changed procedures.
Who Should Participate?
The supervisor and employees performing the work should develop the JSA together.
Employees bring knowledge of the job’s practical demands: awkward positioning, difficult access, equipment limitations, and the adjustments needed to get the work done. The supervisor helps coordinate resources and responsibilities.
A safety professional can support the process, particularly when hazards require specialized knowledge. Include other technical expertise when the task calls for it.
Step 1: Break the Job Into Useful Steps
Choose a clearly defined job, then describe its major actions in sequence.
Start each step with an action word, such as move, position, cut, lift, secure, or remove.
Use enough detail to reveal changes in exposure without documenting every hand movement. “Install drywall” is usually too broad. Describing every screw placement is usually too detailed.
For the drywall example in the video, useful steps might be:
- Move sheets into the work area.
- Measure and cut the sheets.
- Position and support each sheet.
- Fasten the sheet, including its upper edge.
- Remove scraps and organize the area.
Observe the work where practical and check the sequence with the crew.
Step 2: Identify Hazards for Each Step
For every step, ask:
What could cause harm, who could be exposed, and how could that exposure happen?
Consider the tools, materials, environment, and nearby activities—not just the person performing the task.
For example, moving drywall may involve awkward lifting, a sheet tipping, or an obstructed route. Cutting may expose hands to a blade. Fastening the upper edge may introduce a fall exposure or overhead work.
Describe hazards clearly enough to guide control selection. “Injury” is too vague. “Hand cut by the blade while trimming the sheet” identifies the exposure.
Step 3: Select Controls Using the Hierarchy
After identifying hazards, use the hierarchy of controls to choose how to address them.
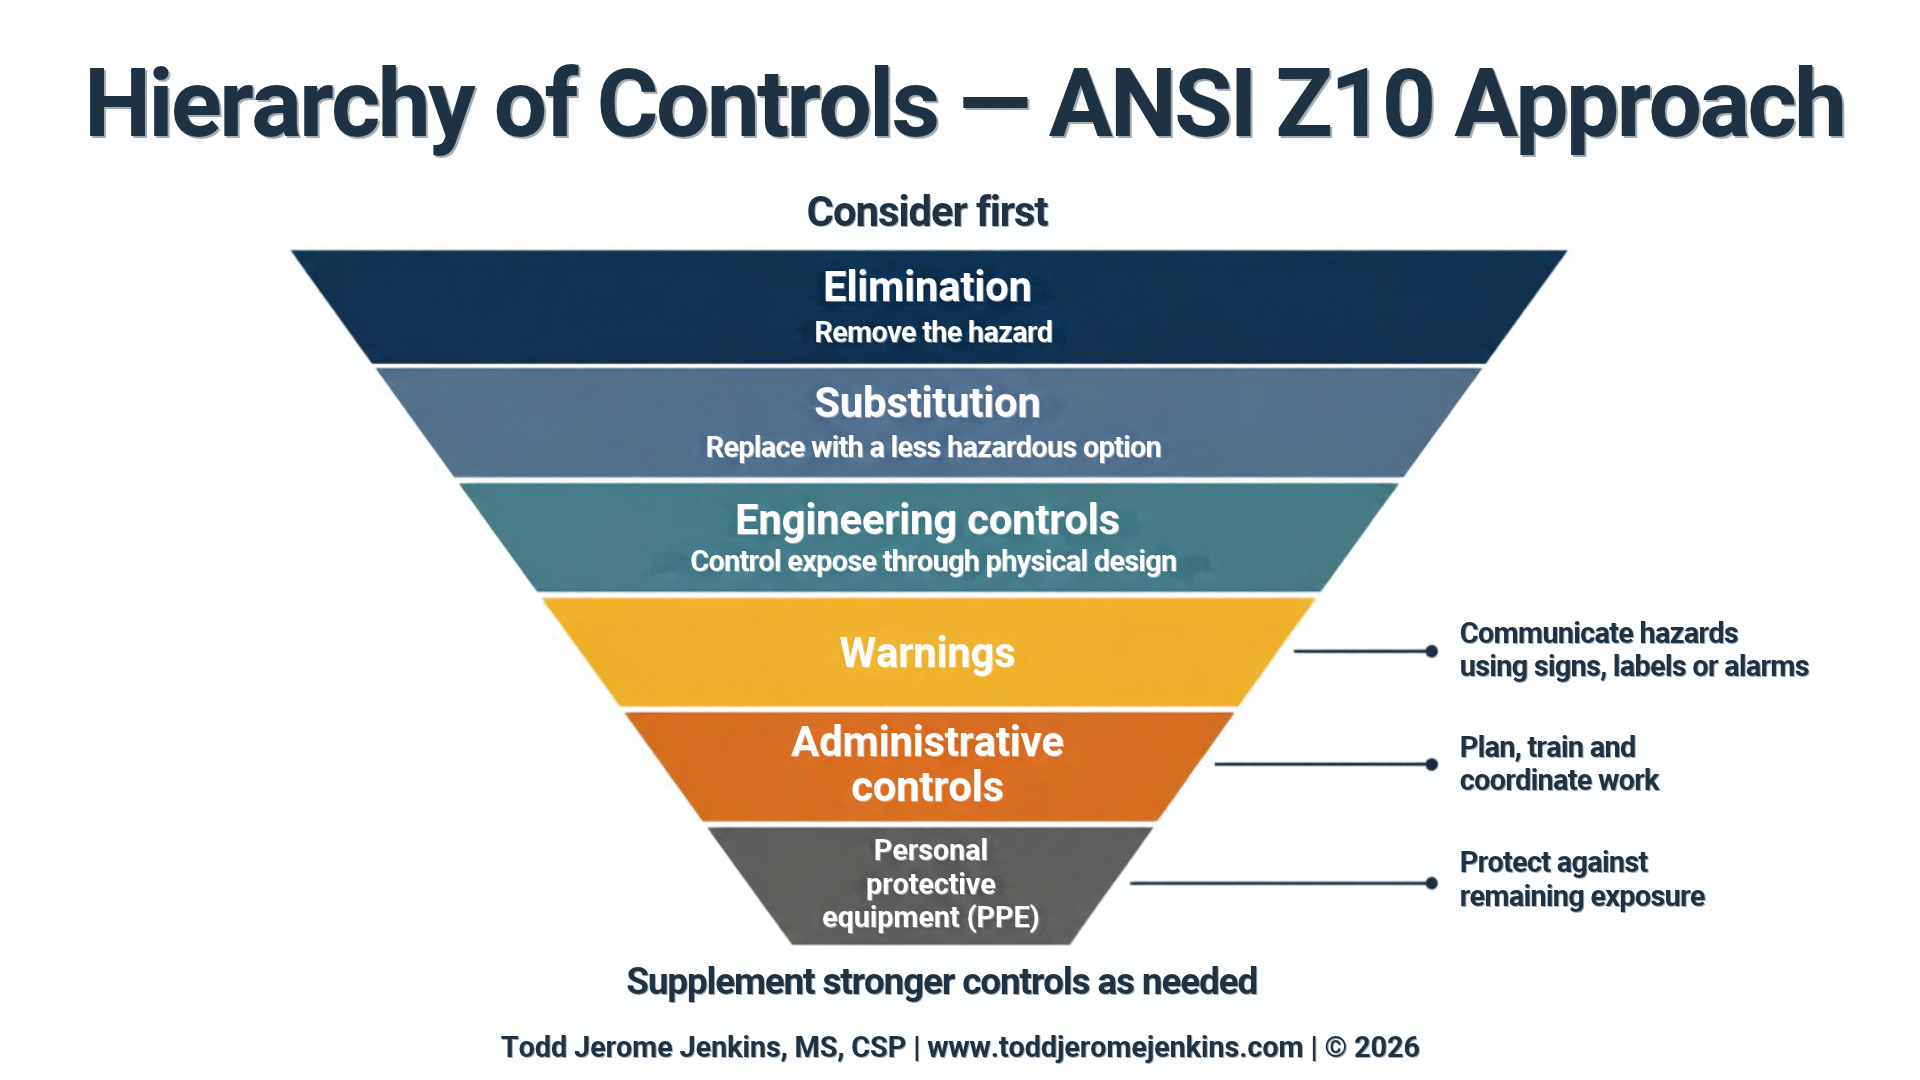
| Control level | Practical question |
|---|---|
| Elimination | Can we remove the hazardous task or exposure? |
| Substitution | Can we use a less hazardous material, tool, or method? |
| Engineering controls | Can equipment or physical design control the exposure? |
| Warnings | What signs, labels, alarms, or other warnings are needed to communicate the hazard? |
| Administrative controls | What planning, procedures, coordination, or training are needed? |
| Personal protective equipment | What protection is needed for the remaining exposure? |
The ANSI Z10 approach identifies warnings separately. The familiar NIOSH hierarchy uses five levels, without a separate warnings category. Both approaches prioritize elimination, substitution, and engineering controls.
NIOSH places elimination, substitution, and engineering controls above administrative controls and PPE because the higher levels generally depend less on continuous human action.
Consider stronger controls first, then combine measures as needed. Make each control specific enough that the crew can implement and verify it.
Warnings require people to perceive, understand, and respond to them; they do not physically remove the hazard.
For lifting, assess the load and the task—including reach, posture, frequency, and travel distance. Use suitable handling equipment where practical. A weight threshold by itself does not establish that a lift is safe.
Example: Planning Drywall Installation
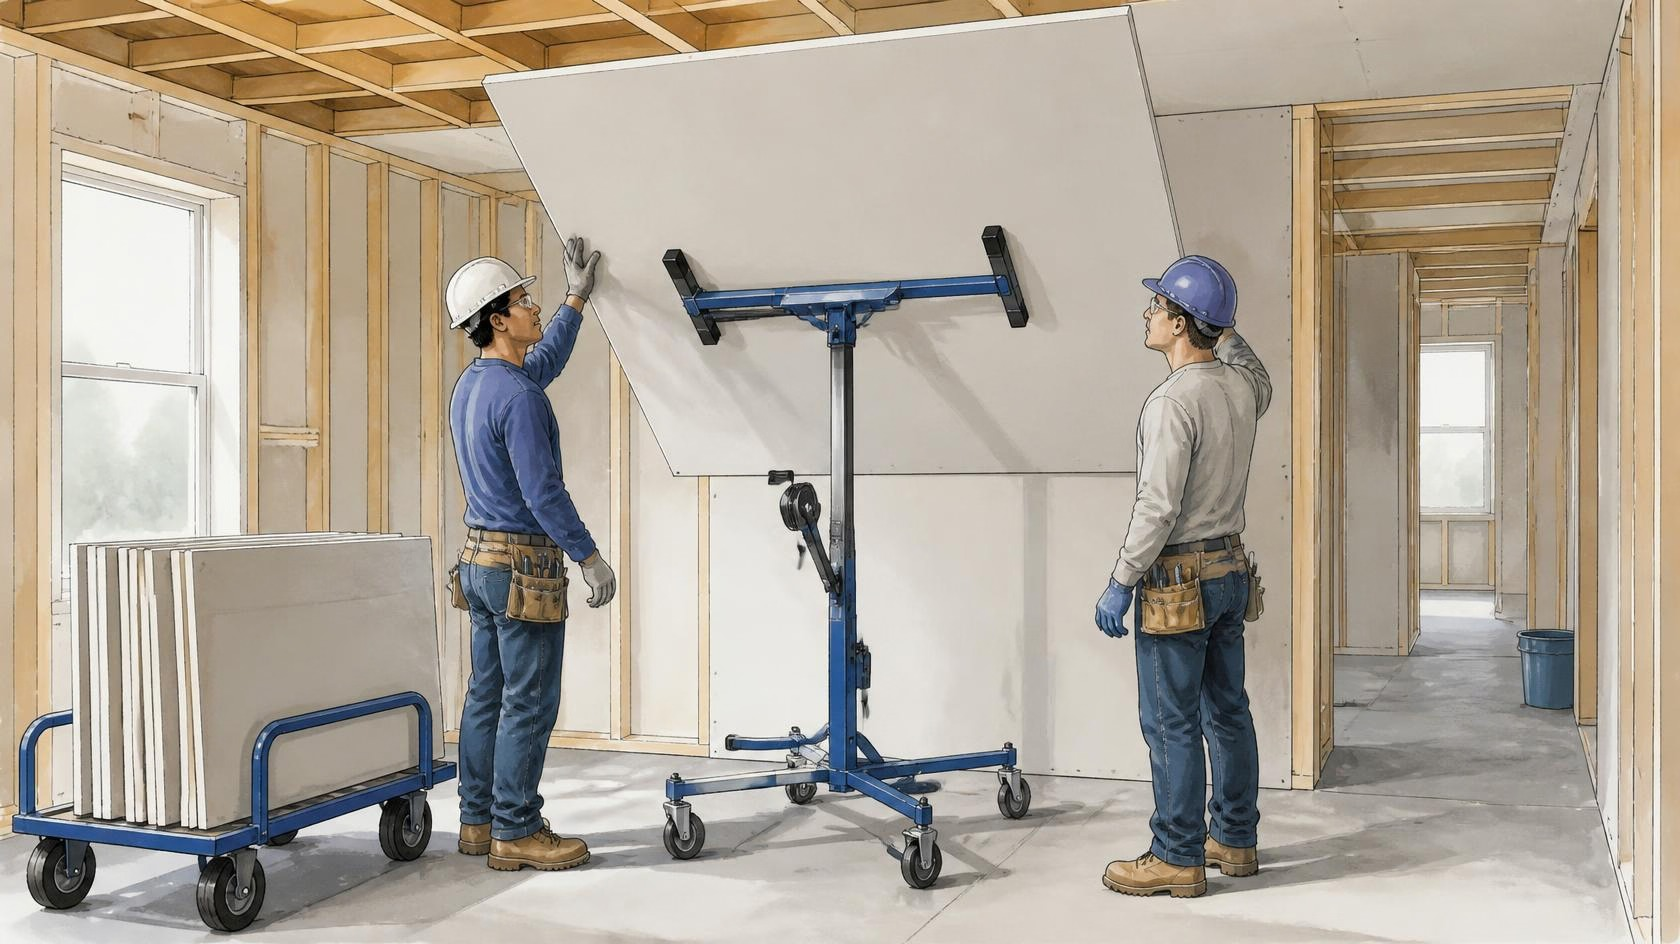
The following is an illustrative starting point. The crew must adapt it to the actual job, equipment, and conditions.
| Job step | Example hazards | Controls to consider and verify |
|---|---|---|
| Move sheets into the area | Awkward lifting; tipping sheets; obstructed route | Suitable handling equipment; stable staging; clear route; coordinated handling |
| Measure and cut | Blade contact; sharp edges | Stable support; suitable cutting tool; hands outside the cutting path; appropriate hand protection |
| Position and support | Dropped sheet; pinch points; sustained holding | Suitable panel support or lift; agreed positioning sequence; clear communication |
| Fasten upper edge | Fall exposure; overhead strain; electrical hazards | Suitable access equipment assessed for the task; properly set up equipment; checked tools and electrical protection |
| Clean the area | Sharp scraps; trips | Designated scrap collection; clear walkways; appropriate handling tools and protection |
In the video, the crew considers a Baker utility scaffold instead of a ladder. That is a useful example of questioning the initial plan. The final choice still depends on the task, setup, manufacturer instructions, and applicable requirements.
Where Should the JSA Be Kept?
Keep it accessible to the affected employees where they can use it before and during the job. A paper copy or accessible digital version can support this.
Before work begins, review the steps, hazards, and controls with the crew. Confirm that the equipment and resources described in the document are actually available.
If conditions differ from the plan, pause and reassess. Update the JSA and communicate the changes before continuing.
Make the JSA Useful
A useful JSA describes the real job, identifies meaningful exposures, and specifies controls the crew can check.
Before starting, ask:
- Does this describe the work we are about to perform?
- Have we considered hazards with serious consequences?
- Are the required controls available and working?
- Does everyone understand their role?
- What change would cause us to stop and reassess?
The goal is to make the work safer through planning, conversation, and effective controls. The completed form records that work; it does not replace it.